
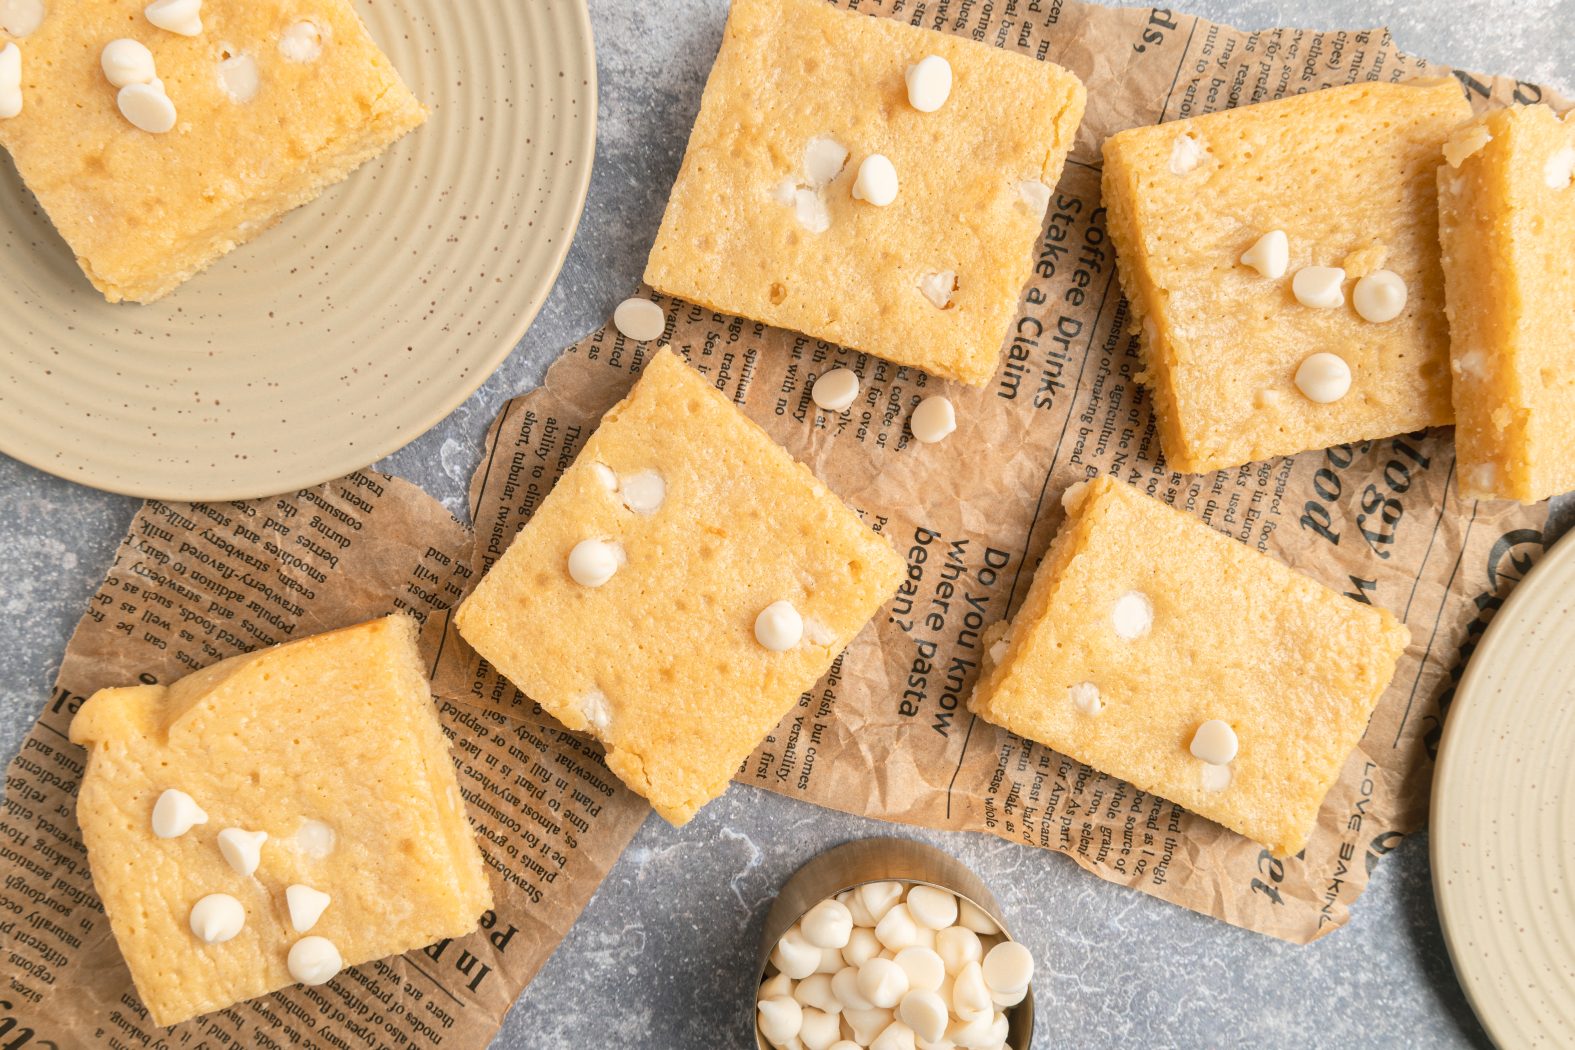
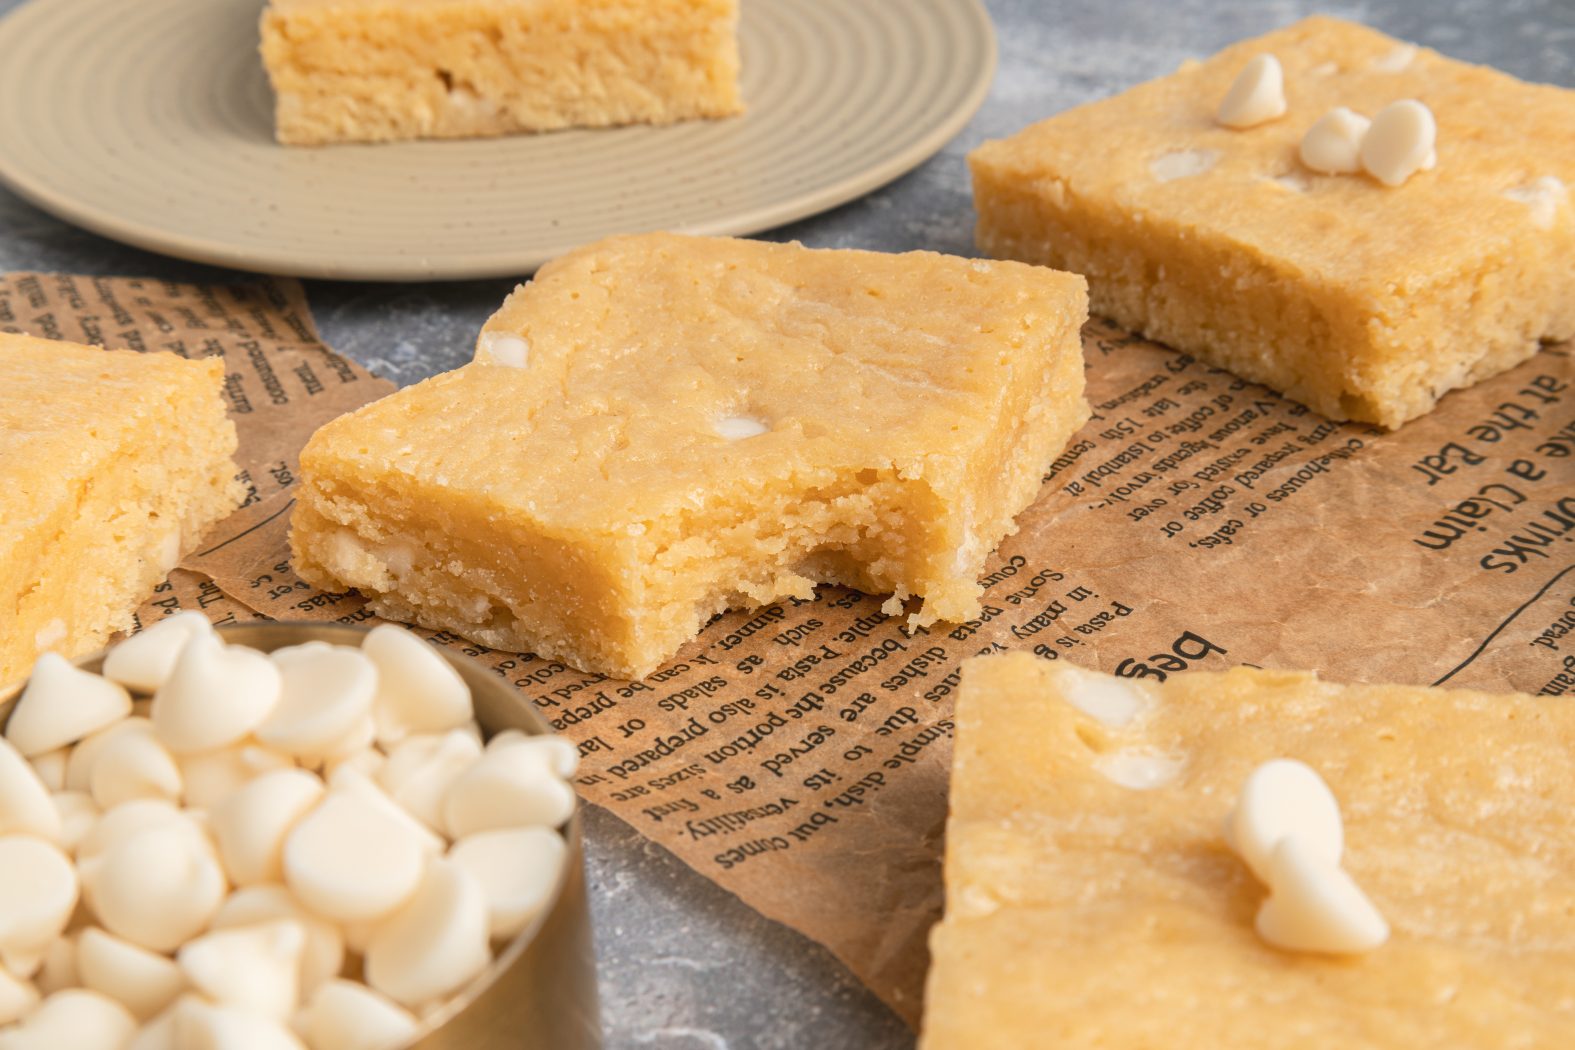
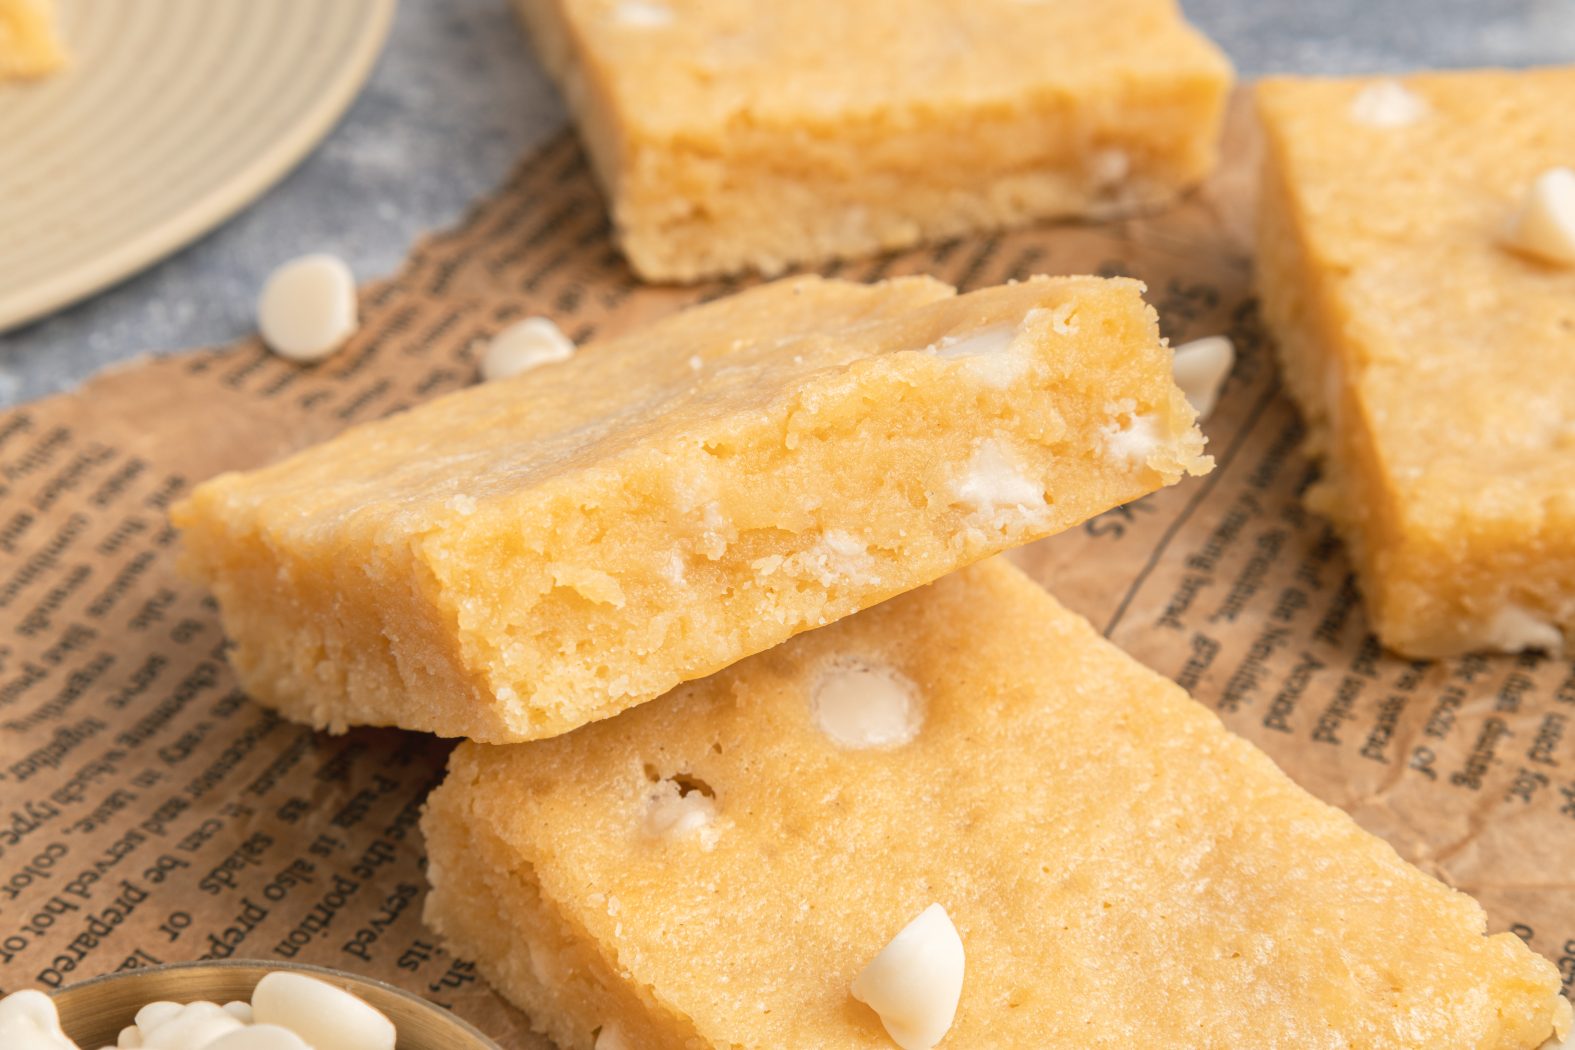
White chocolate brownies are rich, fudgy bars made with melted white chocolate, butter, and simple pantry ingredients that create a soft, sweet treat with a golden color. Unlike traditional chocolate brownies, these use white chocolate as the base, giving them a buttery vanilla flavor and a custard-like texture. They’re sometimes called blondies because of their light appearance.
Learning how to make white chocolate brownies is simple and requires just one bowl. You’ll melt white chocolate with butter, mix in eggs and sugar, then fold in flour and extra white chocolate chips. The result is a chewy brownie with a crinkly top and gooey center that takes less than an hour from start to finish.
This white chocolate brownie recipe walks you through each step, from melting the chocolate properly to getting the perfect bake time. You’ll also find tips for texture, flavor variations, and how to store them so they stay fresh.
What Sets White Chocolate Brownies Apart
White chocolate brownies stand out because they rely on melted white chocolate instead of cocoa powder or dark chocolate, creating a sweet, buttery flavor with vanilla notes rather than the bitter richness of traditional brownies. The texture stays dense and fudgy, but the taste profile shifts completely.
Understanding the Role of White Chocolate
White chocolate is the foundation of these brownies and changes everything about their flavor and texture. Unlike dark or milk chocolate, white chocolate contains cocoa butter, milk solids, and sugar but no cocoa solids. This means you get a creamy, vanilla-forward sweetness without any bitter chocolate notes.
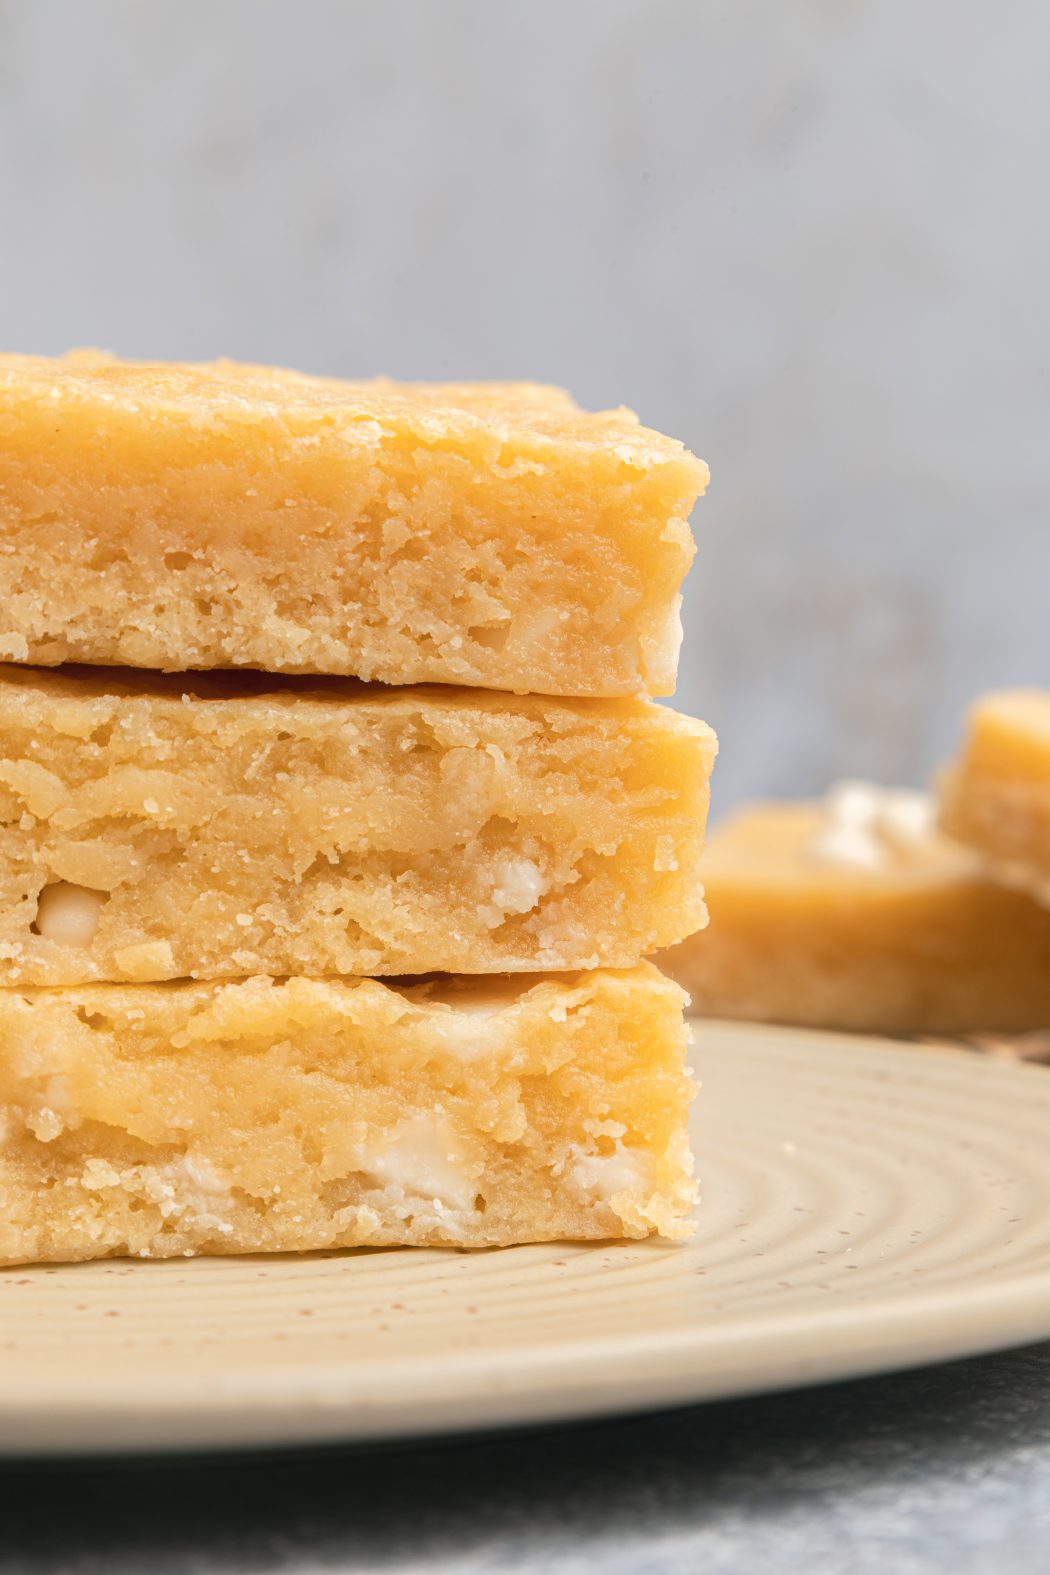
When you melt white chocolate into the batter, it creates that signature fudgy texture. The cocoa butter in white chocolate adds richness and moisture that makes each bite feel decadent. Pure white chocolate works best because it contains real cocoa butter rather than vegetable oils found in lower-quality versions.
The quality of your white chocolate matters. Look for brands that list cocoa butter as the main fat source. Cheap white chocolate chips might contain palm oil or other substitutes that won’t melt smoothly or provide the right texture. Good white chocolate melts into a silky mixture that blends perfectly with butter and creates that dense, moist crumb you want in homemade brownies.
Distinguishing from Blondies and Traditional Brownies
White chocolate brownies differ from blondies in one key way: melted white chocolate in the batter. Blondies use butter and brown sugar as their base, similar to cookie dough, but contain no melted chocolate at all. They taste more like butterscotch or toffee.
Traditional brownies use cocoa powder or melted dark chocolate, giving them a deep chocolate flavor and darker color. White chocolate brownies stay pale golden or ivory in color and taste completely different. The flavor is sweeter and more vanilla-focused rather than intensely chocolatey.
Both blondies and white chocolate brownies can include mix-ins like chocolate chips or nuts. But white chocolate brownies have that distinct creamy quality from the melted white chocolate that blondies lack. The texture is similar—dense, chewy, and fudgy—but the taste sets them apart completely.
Popular Flavor Variations
You can customize white chocolate brownies with different mix-ins and flavor additions. White chocolate chips added to the batter create extra pockets of melted sweetness throughout. Some bakers swirl in Nutella brownies batter for a chocolate-hazelnut contrast against the white chocolate base.
Vanilla extract enhances the natural vanilla notes in white chocolate, but you can also try almond extract for a different flavor profile. Lemon zest adds brightness that cuts through the sweetness. Dried cranberries or raspberries provide tart fruit flavors that balance the rich white chocolate.
You can also fold in macadamia nuts, which pair naturally with white chocolate’s buttery flavor. Some recipes add a layer of caramel or dulce de leche between two brownie layers. Brown butter instead of regular butter adds nutty depth to the base flavor.
Key Ingredients and Baking Essentials
Real white chocolate with cocoa butter makes the biggest difference in texture and taste, while the form you choose affects how the chocolate distributes through your brownies.
Choosing the Best White Chocolate
The quality of your white chocolate determines whether your brownies turn out smooth and rich or grainy and bland. Real white chocolate must contain cocoa butter as its main ingredient. Many cheaper products use palm oil or other substitutes instead, which won’t melt properly or give you that creamy texture you’re looking for.
Check the ingredient list before you buy. Cocoa butter should appear near the top, along with sugar and milk solids. Brands that list vegetable oils first aren’t real white chocolate and will cause problems when you melt them.
The cocoa butter content affects both melting and baking. Products without it don’t blend smoothly into your batter and can create an oily or separated texture. They also lack the rich vanilla notes that make white chocolate brownies taste different from regular blondies.
Pros and Cons of Using Chips, Chunks, and Bars
White chocolate bars work best for melting into your batter because they melt evenly and create a smooth base. They give you the most control over texture. The downside is that you need to chop them yourself, which takes extra time.
White chocolate chunks are perfect for folding into batter after you’ve melted different chocolate for the base. They hold their shape during baking and create pockets of melted white chocolate throughout your brownies. They’re usually more expensive than chips or bars.
White chocolate chips are convenient and affordable. They work well for mixing into batter or sprinkling on top. However, most chips contain stabilizers that help them keep their shape, which means they don’t melt as smoothly as bars when you use them for the base.
Many bakers use a combination: melted white chocolate from bars for the batter and white chocolate chips folded in for texture.
Essential Supporting Ingredients
Butter adds moisture and richness that complements the white chocolate. You need ¾ cup of unsalted butter so you can control the salt level yourself. The butter melts together with your chopped white chocolate to create the base.
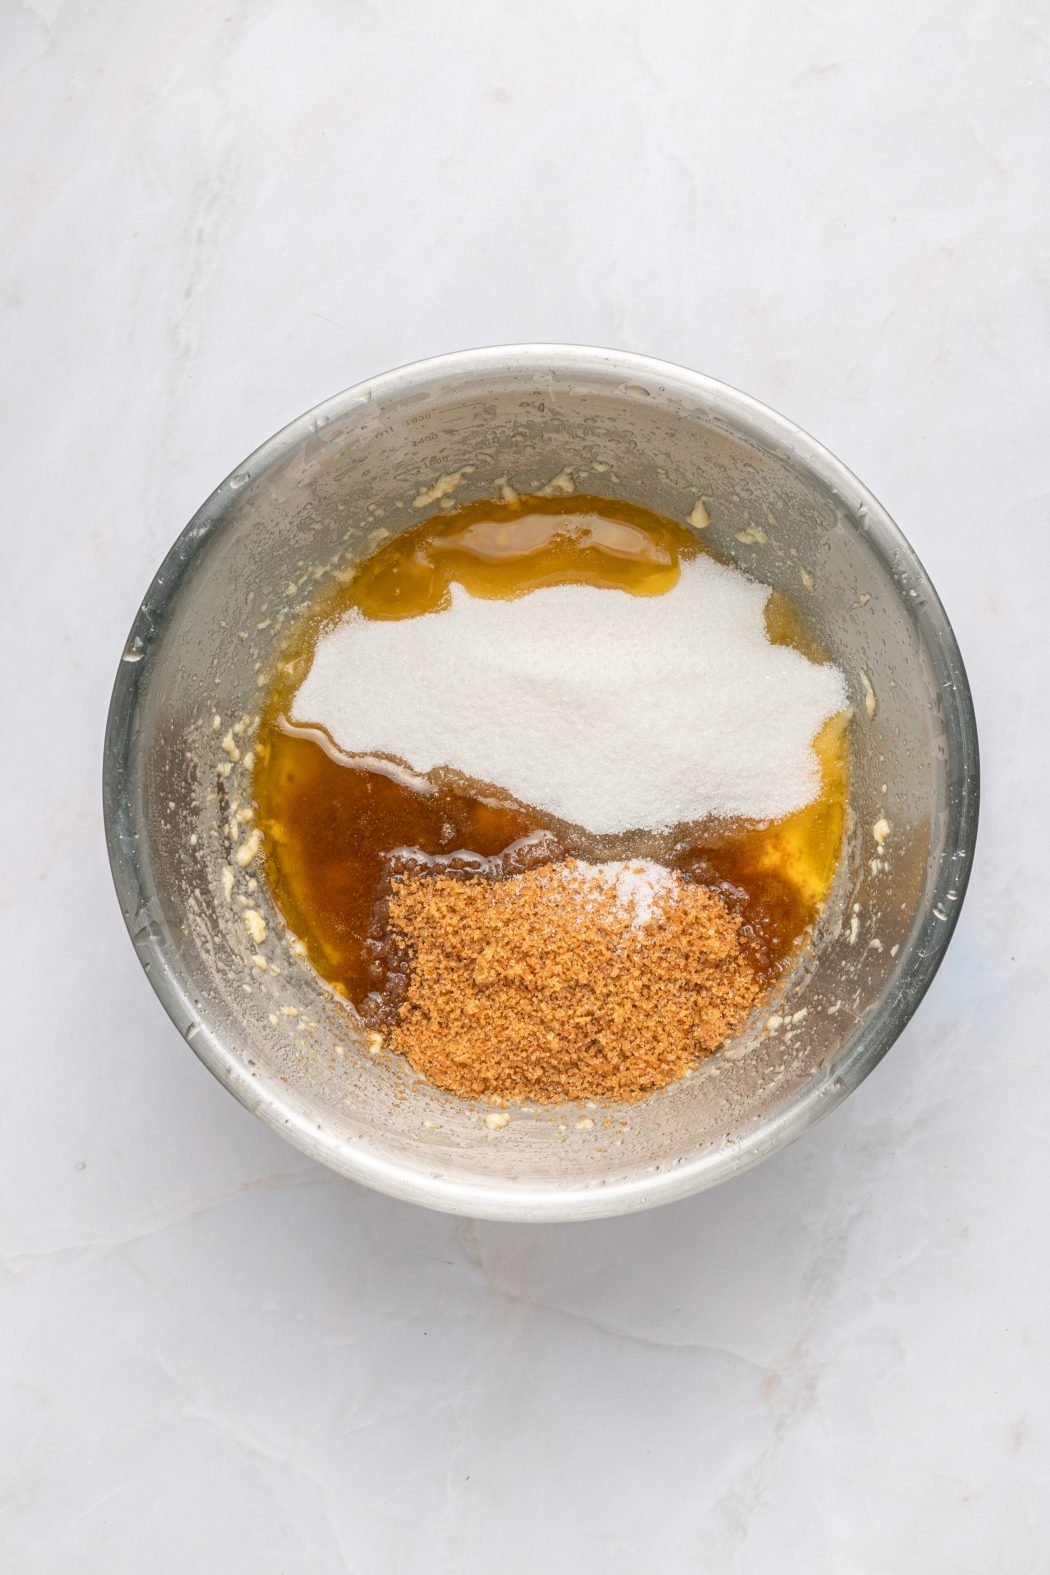
Both granulated sugar and light brown sugar are necessary. Granulated sugar provides sweetness, while brown sugar adds moisture and a slight caramel note that balances the vanilla flavor of white chocolate.
Eggs bind everything together and create that fudgy texture. You’ll need 3 large eggs added one at a time to the melted white chocolate mixture. Make sure your melted chocolate cools for 5-10 minutes first, or the hot mixture could scramble your eggs.
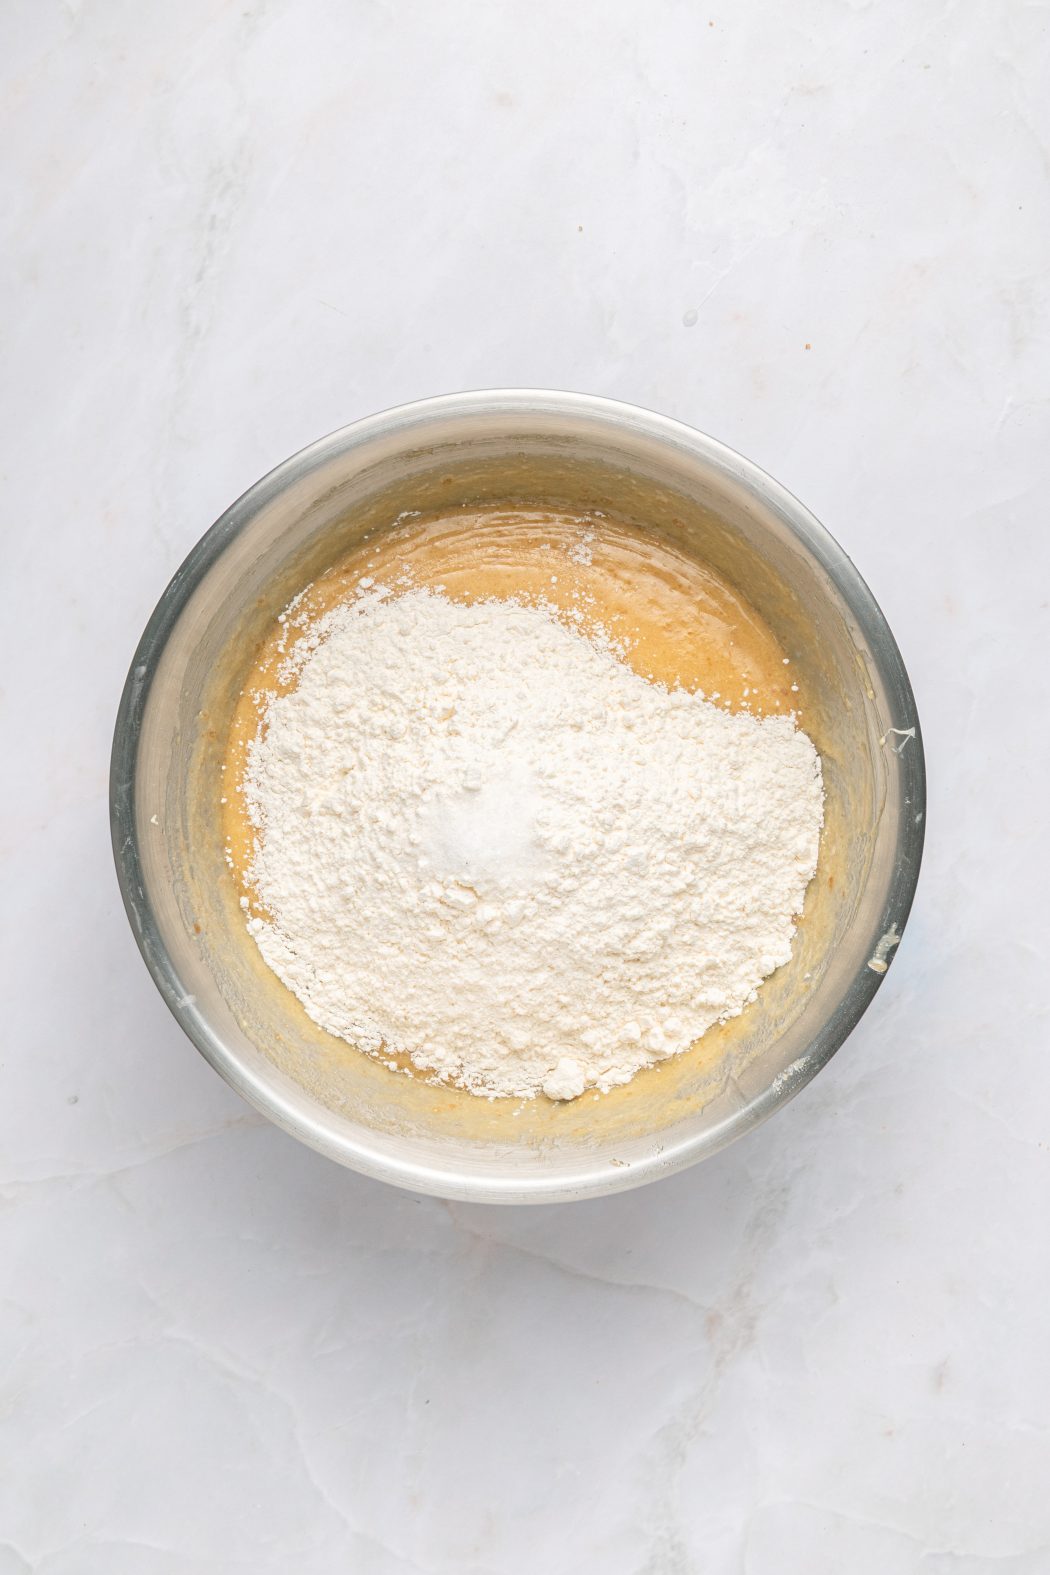
All-purpose flour gives structure without making the brownies cakey. Salt enhances all the flavors and keeps your brownies from tasting flat or one-dimensional.
Step-By-Step Process for Homemade Success
Making white chocolate brownies requires attention to three key phases: properly melting the chocolate, combining ingredients in the right order, and baking at the correct temperature for the right amount of time.
Melting and Preparing White Chocolate
White chocolate needs gentle heat because it burns easily. Set up a double boiler by placing a heatproof bowl over a pot of simmering water. Make sure the bottom of the bowl doesn’t touch the water.
Add your chopped white chocolate and cubed butter to the bowl. Stir the mixture occasionally as it melts. The goal is a smooth, glossy mixture without any lumps.
White chocolate can seize if it gets too hot or heats too quickly. When this happens, the chocolate becomes grainy and unusable. If you prefer using a microwave, heat the white chocolate and butter in short bursts at low power, stirring between each interval.
Once the melted white chocolate and butter are fully combined, remove the bowl from heat. Let the mixture cool for 5 to 10 minutes before adding other ingredients. This cooling period prevents the eggs from scrambling when you add them later.
Mixing and Combining Ingredients
Start by whisking both sugars into your cooled chocolate mixture. Mix until the sugars are fully incorporated and the mixture looks smooth.
Add eggs one at a time to the bowl. Whisk well after each egg before adding the next one. This method helps create the fudgy texture you want in white chocolate brownies. Stir in the vanilla extract after all eggs are mixed in.
Key mixing steps:
- Fold in flour and salt gently
- Mix just until no dry streaks remain
- Avoid overmixing the batter
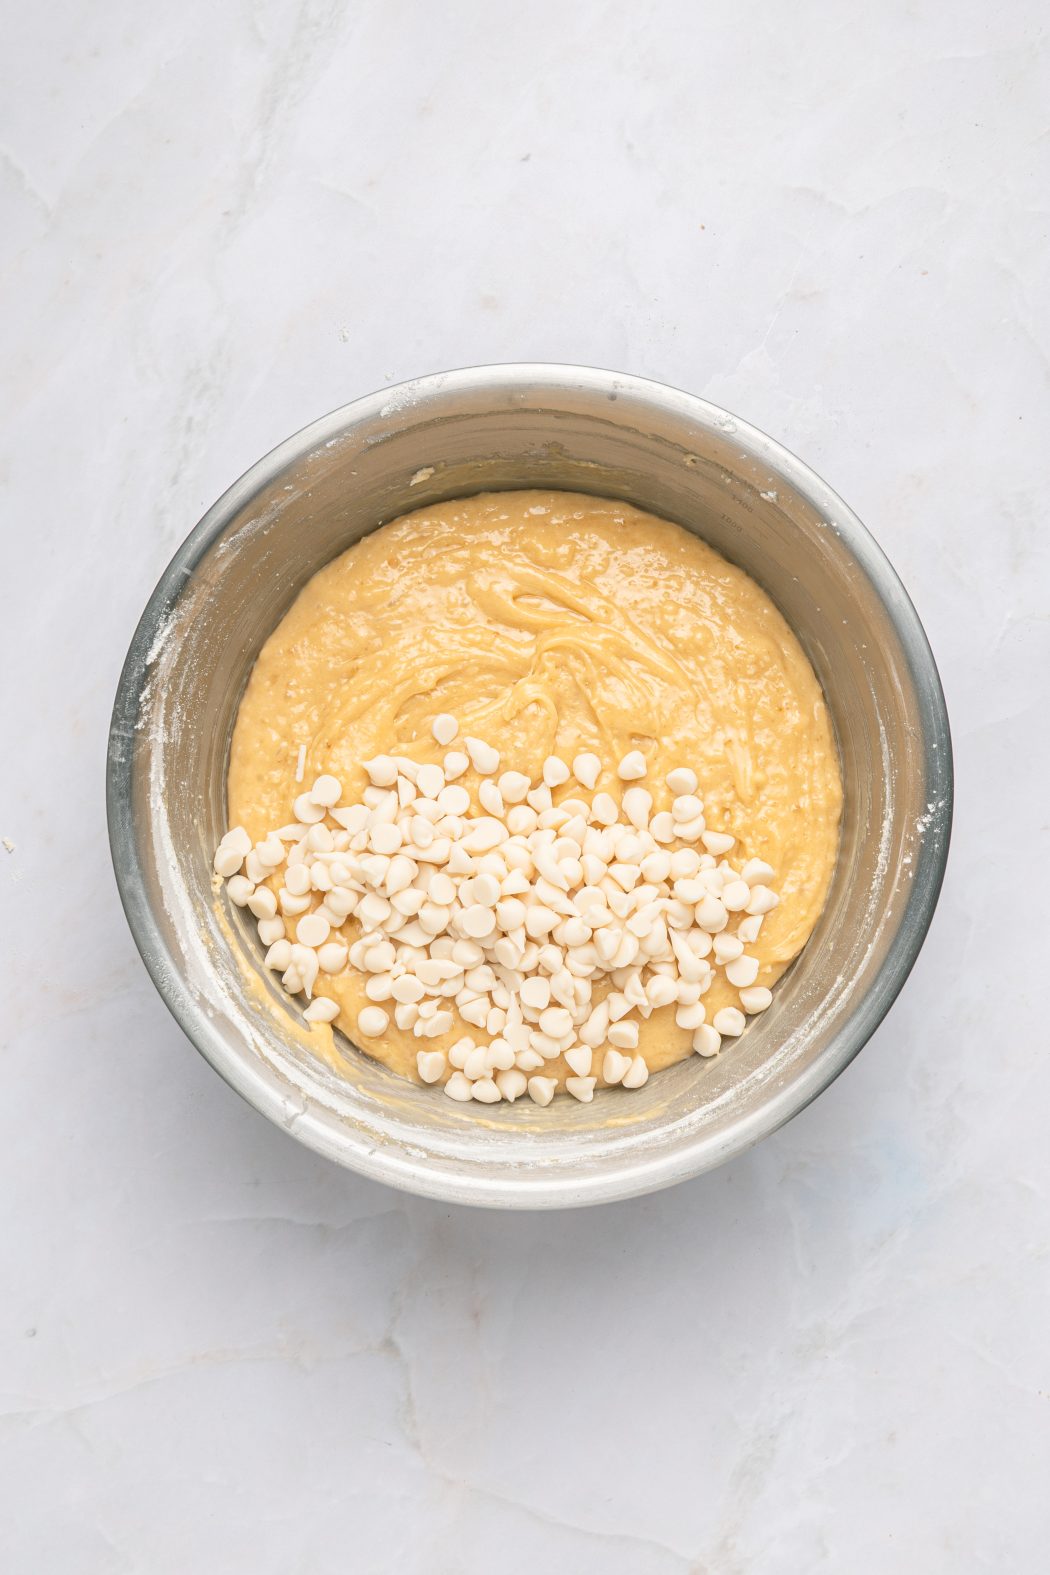
- Fold in white chocolate chips last
Overmixing develops gluten in the flour, which makes your brownies tough instead of fudgy. Stop mixing as soon as the flour disappears into the batter.
Baking Techniques for Fudginess
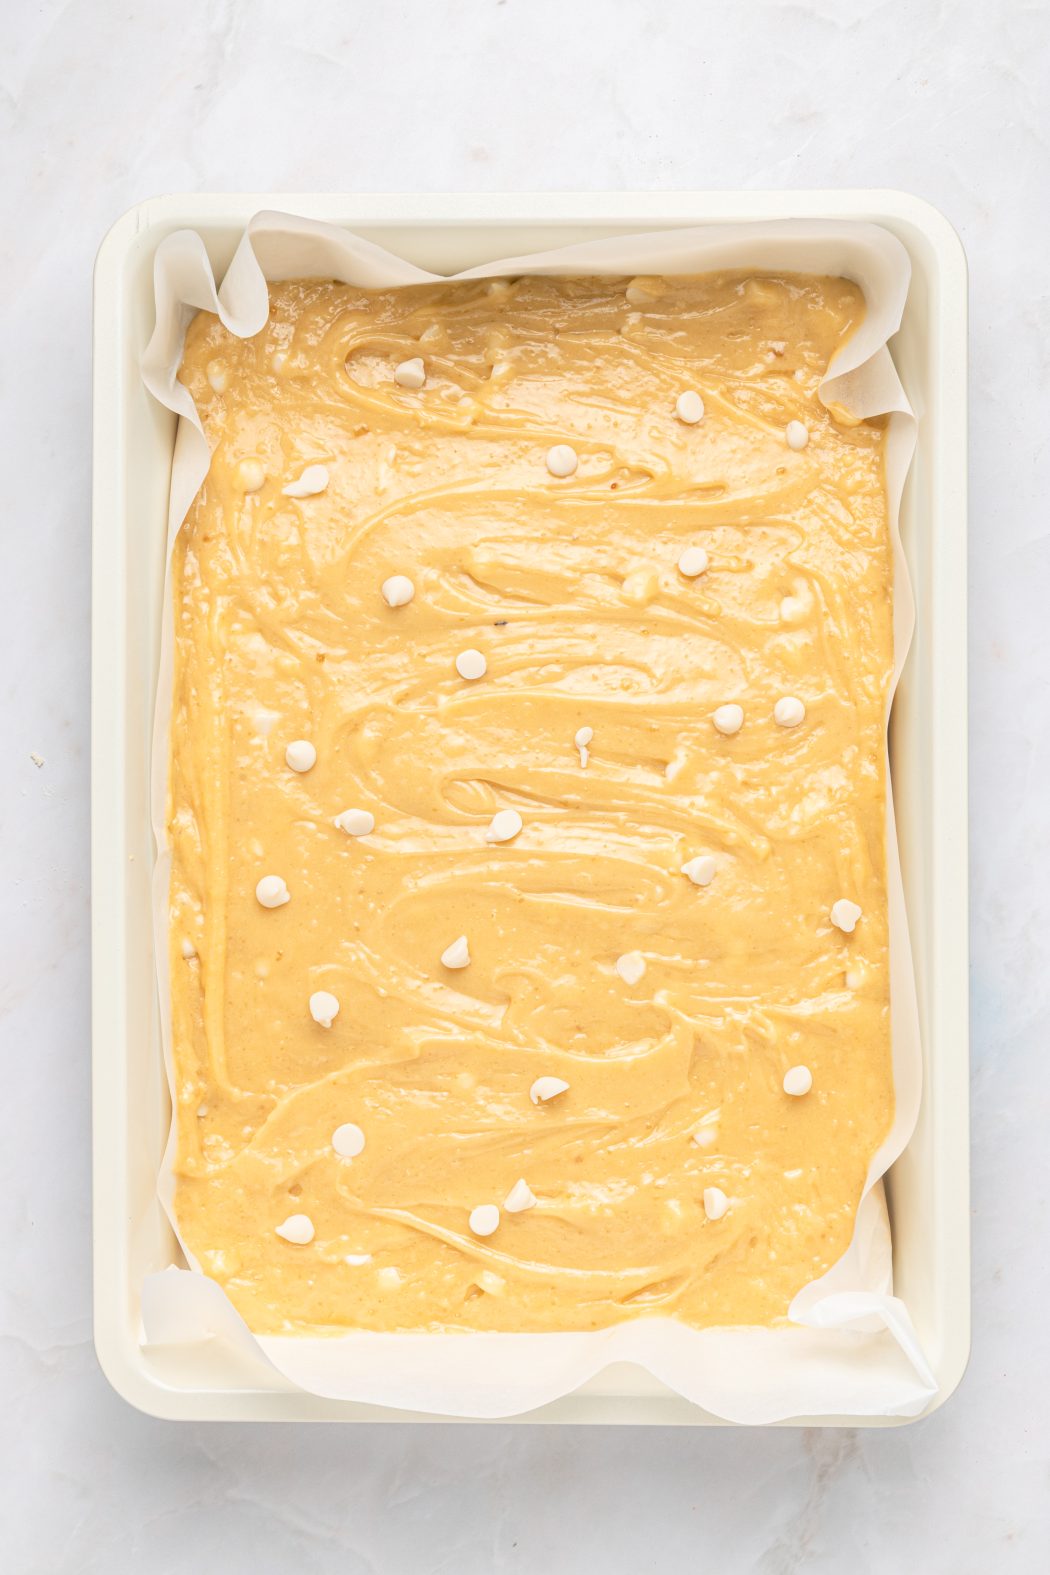
Preheat your oven to 350°F before you start mixing. Line your 9×13-inch pan with parchment paper, leaving overhang on the sides for easy removal.
Pour the batter into the prepared pan and spread it evenly with a spatula. You can sprinkle extra white chocolate chips on top if you want more chocolate in each bite.
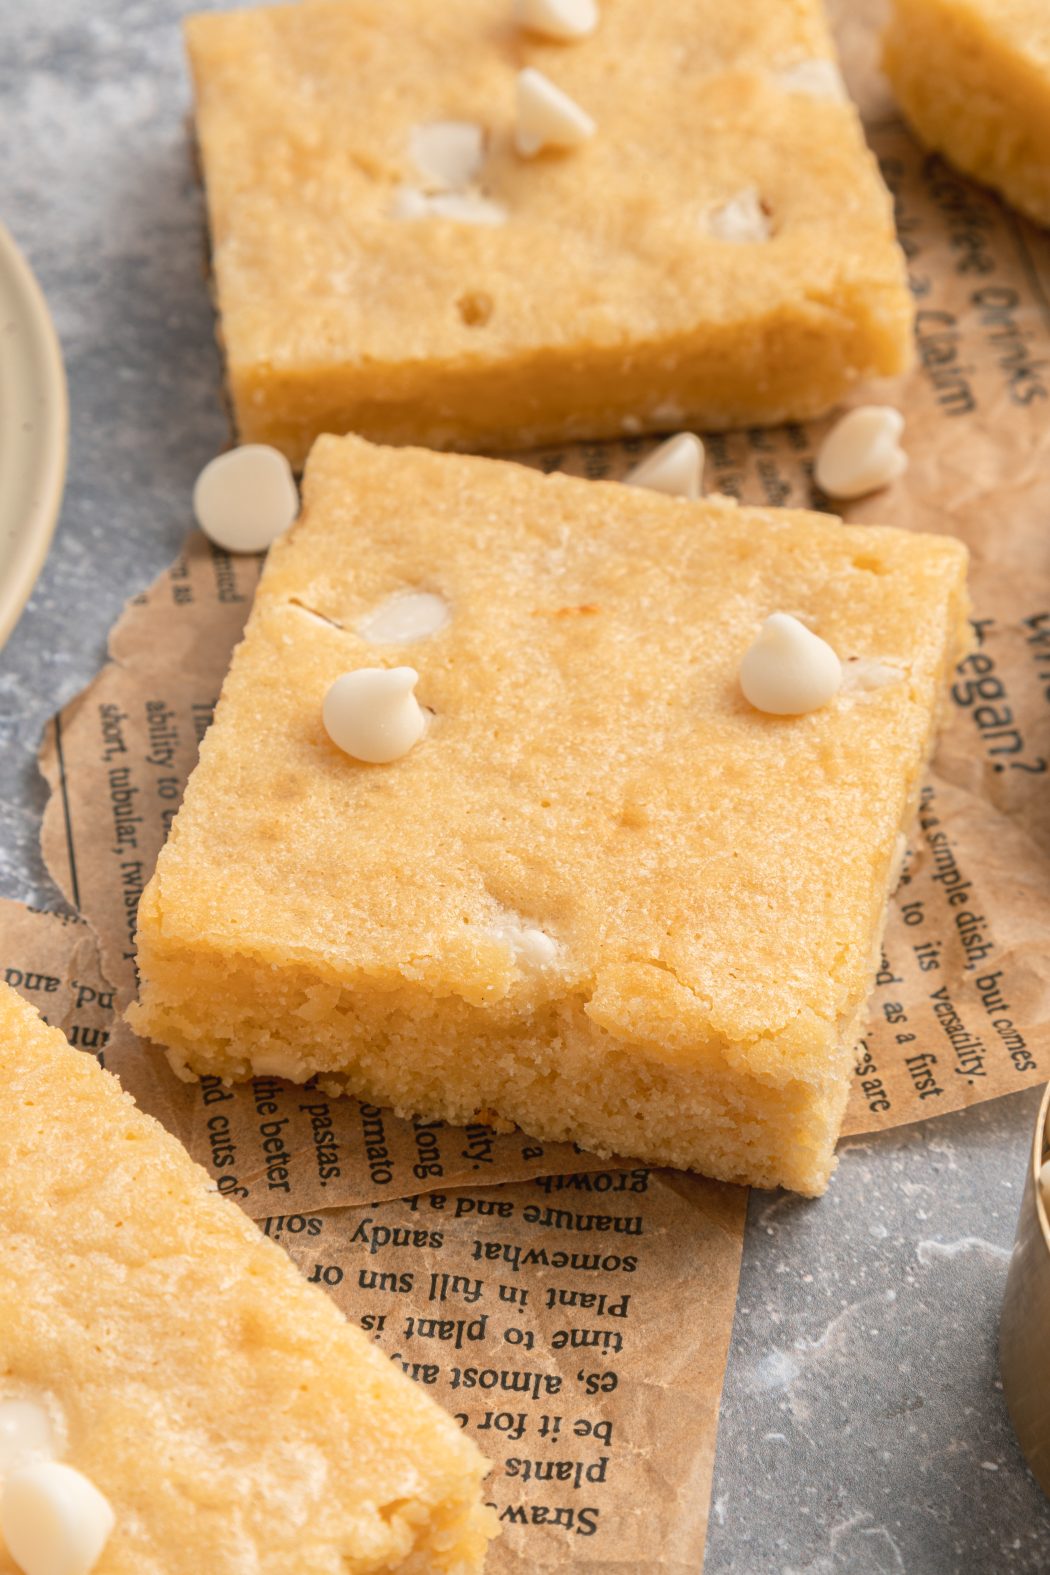
Bake for 15 to 17 minutes only. The edges should look lightly golden and the center should be just set. A toothpick inserted in the middle should come out with a few moist crumbs, not completely clean.
White chocolate brownies continue cooking from residual heat after you remove them from the oven. Taking them out when the center still looks slightly underdone prevents overbaking. Overbaked brownies turn dry and cakey instead of fudgy.
Let the brownies cool completely in the pan before cutting. This cooling time allows them to set properly and makes slicing much easier.
Tips for Perfect Texture and Flavor
White chocolate brownies need careful attention to temperature, timing, and ingredient choices to achieve that signature fudgy center and sweet vanilla flavor. Small adjustments in technique and creative additions can transform good homemade brownies into outstanding ones.
Achieving a Crackly Top and Fudgy Center
The key to a crackly top starts with properly dissolving your sugars into the melted white chocolate mixture. Whisk the granulated and brown sugars thoroughly until they’re fully incorporated and the mixture looks glossy.
Don’t skip the cooling step. Let your melted white chocolate and butter cool for 5-10 minutes before adding eggs. If the mixture is too hot, it can scramble the eggs and prevent that delicate crackly surface from forming.
Underbaking is your friend with white chocolate brownies. Pull them from the oven when the edges are set and lightly golden but the center still jiggles slightly. They should bake for 15-17 minutes at 350°F. A toothpick inserted in the middle should come out with moist crumbs, not clean.
The brownies will firm up as they cool completely in the pan. Cutting them too early leads to a messy, gooey center instead of that perfect fudgy texture.
Troubleshooting Common Issues
Problem: Grainy or seized chocolate
White chocolate is delicate and can turn grainy if overheated. Use gentle heat with the double boiler method, making sure the bowl doesn’t touch the water. Stir frequently and remove from heat as soon as it’s melted.
Problem: Dry, cakey texture
This usually means overbaking. White chocolate brownies need less time in the oven than traditional brownies. Check them at 15 minutes and remove them when the center is just barely set.
Problem: Flat, dense brownies
Make sure you’re adding eggs one at a time and whisking well after each addition. This incorporates air and creates lift. Also, avoid overmixing once you add the flour—fold just until no dry streaks remain.
Problem: Brownies stick to the pan
Line your pan with parchment paper with overhang on the sides. This makes lifting the brownies out easy and ensures clean cuts.
Creative Add-Ins and Toppings
White chocolate brownies work as a versatile base for many mix-ins. Fold in ¾ cup of white chocolate chunks along with the chips for extra pockets of melted chocolate. The chunks create a more varied texture than chips alone.
Try swirling 2-3 tablespoons of Nutella into the batter before baking. Drop spoonfuls on top and use a knife to create swirls. Nutella brownies add a hazelnut dimension that complements the sweet vanilla notes.
Popular add-in options:
- Fresh or frozen raspberries (1 cup)
- Chopped macadamia nuts or pecans (½ cup)
- Dried cranberries or cherries (½ cup)
- Lemon zest (1 tablespoon for brightness)
Sprinkle extra white chocolate chips on top of the batter before baking for a prettier presentation. You can also add a light sprinkle of flaky sea salt right after removing them from the oven to balance the sweetness.
Tasty Variations and Serving Suggestions
White chocolate brownies work well with mix-ins like nuts and fruit, can be decorated with drizzles and swirls, and pair nicely with ice cream or coffee for different occasions.
Mixing in Nuts, Fruit, or Sauces
You can fold ½ to ¾ cup of chopped nuts into your white chocolate brownie recipe for added texture. Macadamia nuts complement the creamy sweetness of white chocolate, while pecans or walnuts add a buttery crunch. Toast the nuts for 5-7 minutes before adding them to bring out their flavor.
Dried cranberries, raspberries, or cherries add a tart contrast to the sweet white chocolate. Use about ½ cup and chop larger pieces so they distribute evenly. Fresh raspberries work too, but press them gently into the batter before baking instead of mixing them in.
Swirl in Nutella or raspberry jam for a two-toned effect. Drop spoonfuls of the sauce onto the batter and use a knife to create swirls. Nutella brownies made this way combine chocolate and white chocolate in one bite. Don’t overmix or the swirl pattern will disappear.
Decorating with Drizzles and Swirls
Melt 2-3 ounces of dark or milk chocolate and drizzle it over cooled homemade brownies using a spoon or piping bag. The dark chocolate creates visual contrast and balances the sweetness. Let the drizzle harden at room temperature for 15-20 minutes.
You can also drizzle melted white chocolate in thin lines across the top for an elegant look. Add a pinch of sea salt or edible gold flakes while the chocolate is still wet for extra decoration.
Create a marbled effect by spreading melted chocolate over the surface and using a toothpick to swirl it into patterns. This works best when both the brownies and the melted chocolate are at room temperature.
Pairing Ideas for Desserts and Occasions
Serve warm white chocolate brownies with vanilla ice cream or whipped cream. The cold, creamy topping melts slightly into the warm brownie and creates a nice temperature contrast.
Pair these treats with hot coffee or espresso at brunch gatherings. The bitter notes in coffee balance the sweet white chocolate. They also work well with chai tea or hot chocolate for afternoon snacks.
For parties, cut the brownies into small squares and arrange them on a dessert platter with fresh berries. They’re rich, so smaller portions work better for events where guests will try multiple desserts. Package individual brownies in clear bags tied with ribbon for bake sales or gifts.
Storage, Freezing, and Make-Ahead Advice
White chocolate brownies stay fresh at room temperature for up to 3 days, last a week in the fridge, and can be frozen for up to 3 months. Proper storage protects their fudgy texture and keeps the white chocolate flavor intact.
Keeping Brownies Fresh
Store your white chocolate brownies in an airtight container at room temperature for up to 3 days. This keeps them soft and maintains their fudgy texture.
Let the brownies cool completely before storing them. If you seal them while warm, condensation will form inside the container and make them soggy.
Layer parchment paper between stacked brownies to prevent them from sticking together. You can also wrap individual brownies in plastic wrap for grab-and-go portions.
For longer storage, keep them in the refrigerator for up to a week. Place them in an airtight container to prevent the white chocolate from absorbing odors from other foods. Before serving, let refrigerated brownies sit at room temperature for 15-20 minutes to soften.
Freezing for Longer Shelf Life
Freeze white chocolate brownies for up to 3 months. Wrap each brownie individually in plastic wrap, then place them in a freezer-safe container or zip-top bag.
Remove as much air as possible from the bag before sealing. This prevents freezer burn and keeps the brownies from drying out.
You can freeze the entire batch of uncut brownies too. Wrap the whole pan tightly in plastic wrap, then cover it with aluminum foil. This method works well when you’re making brownies ahead for an event.
Label your container with the date so you know when you froze them. Thaw frozen brownies in the refrigerator overnight or at room temperature for 2-3 hours.
Reheating and Serving Tips
Warm your white chocolate brownies in the microwave for 10-15 seconds to restore their fresh-from-the-oven texture. This brings out the white chocolate flavor and makes them extra fudgy.
You can also reheat them in a 300°F oven for 5-8 minutes. Cover them loosely with foil to prevent the edges from drying out.
Frozen brownies taste great straight from the freezer if you prefer a firmer, chewier texture. Let them thaw just enough to bite into comfortably, about 10-15 minutes at room temperature.
Serve thawed brownies with a dusting of powdered sugar or a drizzle of melted white chocolate for a fresh presentation.
Frequently Asked Questions
Getting white chocolate brownies just right takes attention to melting temperature, baking time, and ingredient choices that protect the fudgy texture while building structure.
How do you make brownies with white chocolate that stay fudgy in the center?
The key is underbaking slightly and using enough fat. Pull your brownies from the oven when the edges are set but the center still looks slightly soft and jiggles just a bit when you shake the pan.
A toothpick inserted in the middle should come out with moist crumbs, not completely clean. The brownies will continue cooking as they cool in the pan, so removing them early prevents a dry, cakey texture.
Using both melted white chocolate and butter creates the rich, dense consistency you want. The ratio of fat to flour matters—more fat means more fudge.
What is the best way to prevent white chocolate from burning when baking?
White chocolate burns easily because it contains milk solids and sugar but no cocoa solids. Use a double boiler with simmering water, making sure the bowl doesn’t touch the water directly.
Stir constantly and remove the bowl from heat as soon as the chocolate is almost melted. The residual heat will finish the job without risking burnt, grainy chocolate.
If you use a microwave, heat in 15-second bursts at 50% power, stirring between each interval. Never rush this step.
Can you make these brownies eggless without losing structure and chewiness?
You can replace each egg with ¼ cup of unsweetened applesauce or ¼ cup of plain yogurt. These substitutes add moisture and help bind the ingredients, though the texture will be slightly softer.
Another option is using 3 tablespoons of aquafaba (chickpea liquid) per egg. Whip it slightly before mixing it into your batter.
The brownies may bake a bit flatter and won’t have quite the same chewy edge, but they’ll still taste rich. You might need to add an extra minute or two to the baking time.
How can sweetened condensed milk be used to create a richer, denser brownie texture?
Sweetened condensed milk adds concentrated sugar and fat that makes brownies extra dense and moist. You can replace up to half of the butter with condensed milk, or add ¼ to ½ cup directly to your batter.
If you add condensed milk, reduce the sugar in your recipe by about ¼ cup to avoid making the brownies too sweet. Mix it in with the melted white chocolate and butter.
The result is a chewier, almost gooey texture that stays soft for days. Your baking time may need to increase by 2-3 minutes since the batter will be thicker.
What adjustments should you make when using a boxed brownie mix to add white chocolate?
Prepare the boxed mix according to package directions, then fold in 1 cup of chopped white chocolate or white chocolate chips. You can also replace any water in the mix with milk for extra richness.
For a stronger white chocolate flavor, melt 4 ounces of white chocolate and mix it into the wet ingredients before combining with the dry mix. This creates a more intense taste than just adding chips.
Bake according to the box instructions but start checking 2-3 minutes early. White chocolate can cause brownies to set faster than regular chocolate versions.
How do you know when the brownies are fully baked without overbaking them?
Check your brownies at the minimum baking time listed in your recipe. The edges should be lightly golden and pulling away slightly from the pan sides.
Insert a toothpick into the center—it should come out with a few moist crumbs stuck to it, not wet batter or completely clean. The top should look set with small cracks.
The center will still jiggle slightly when you gently shake the pan, which is exactly what you want. Remember that brownies firm up significantly as they cool, so what seems underdone in the oven will be perfect after cooling.
White Chocolate Brownies
Equipment
- 1 9×13-in baking pan
- Parchment paper
- double boiler for melting chocolate
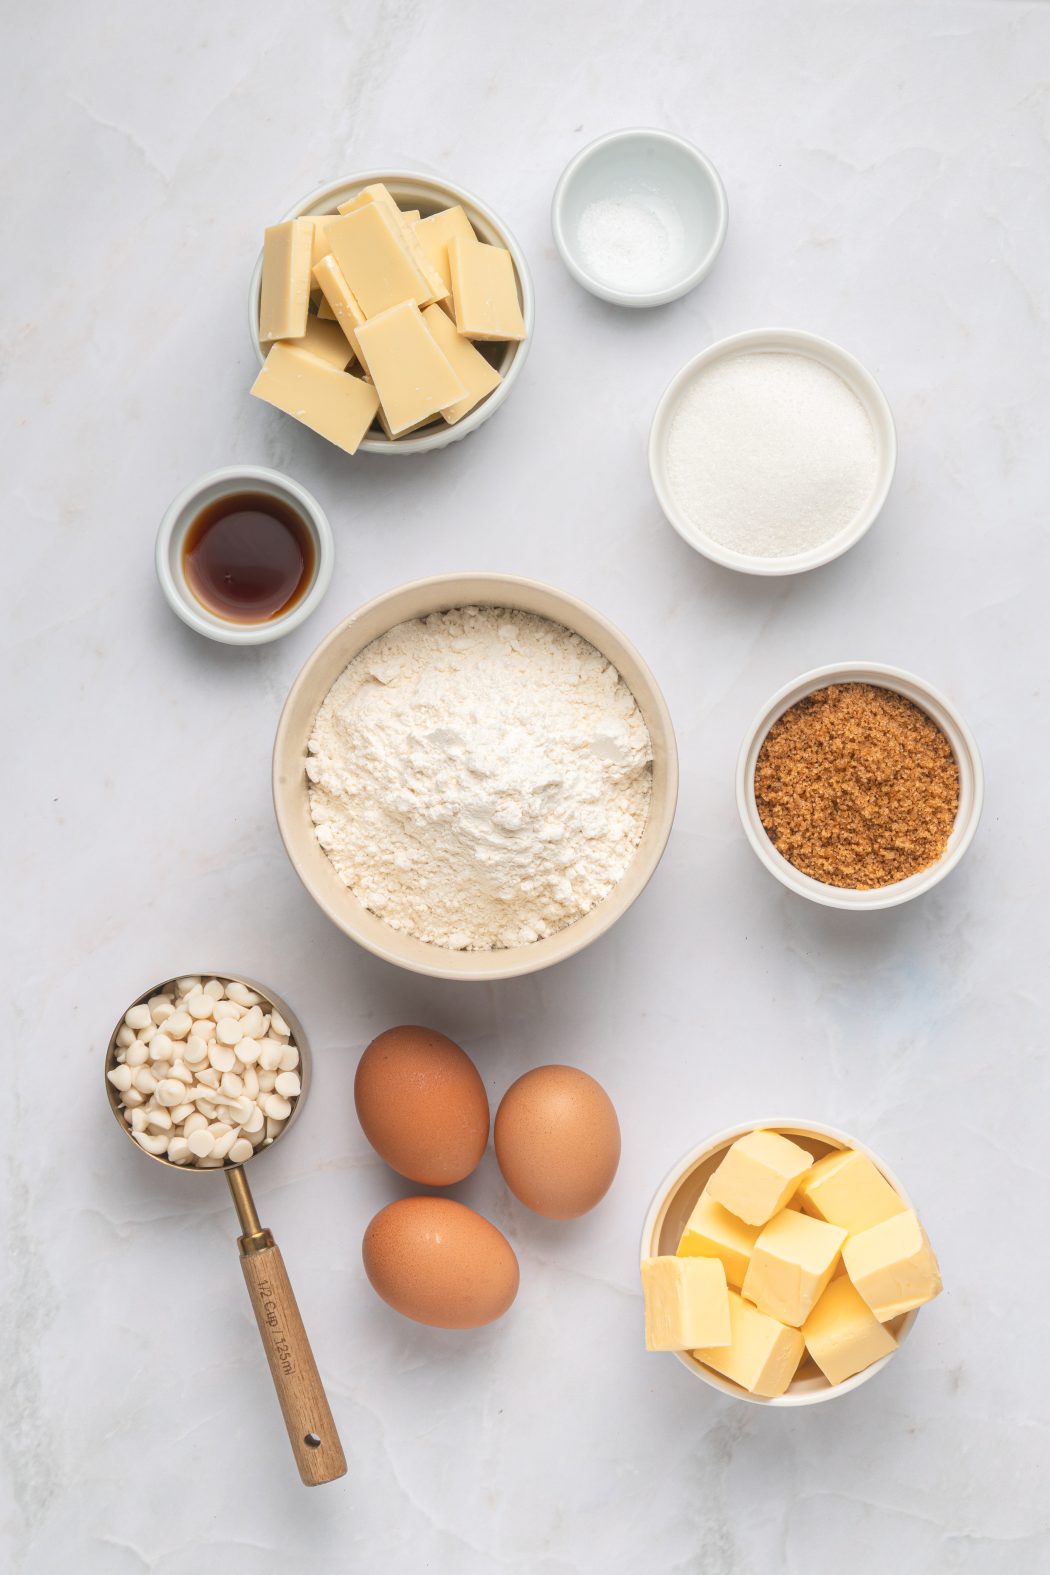
Ingredients
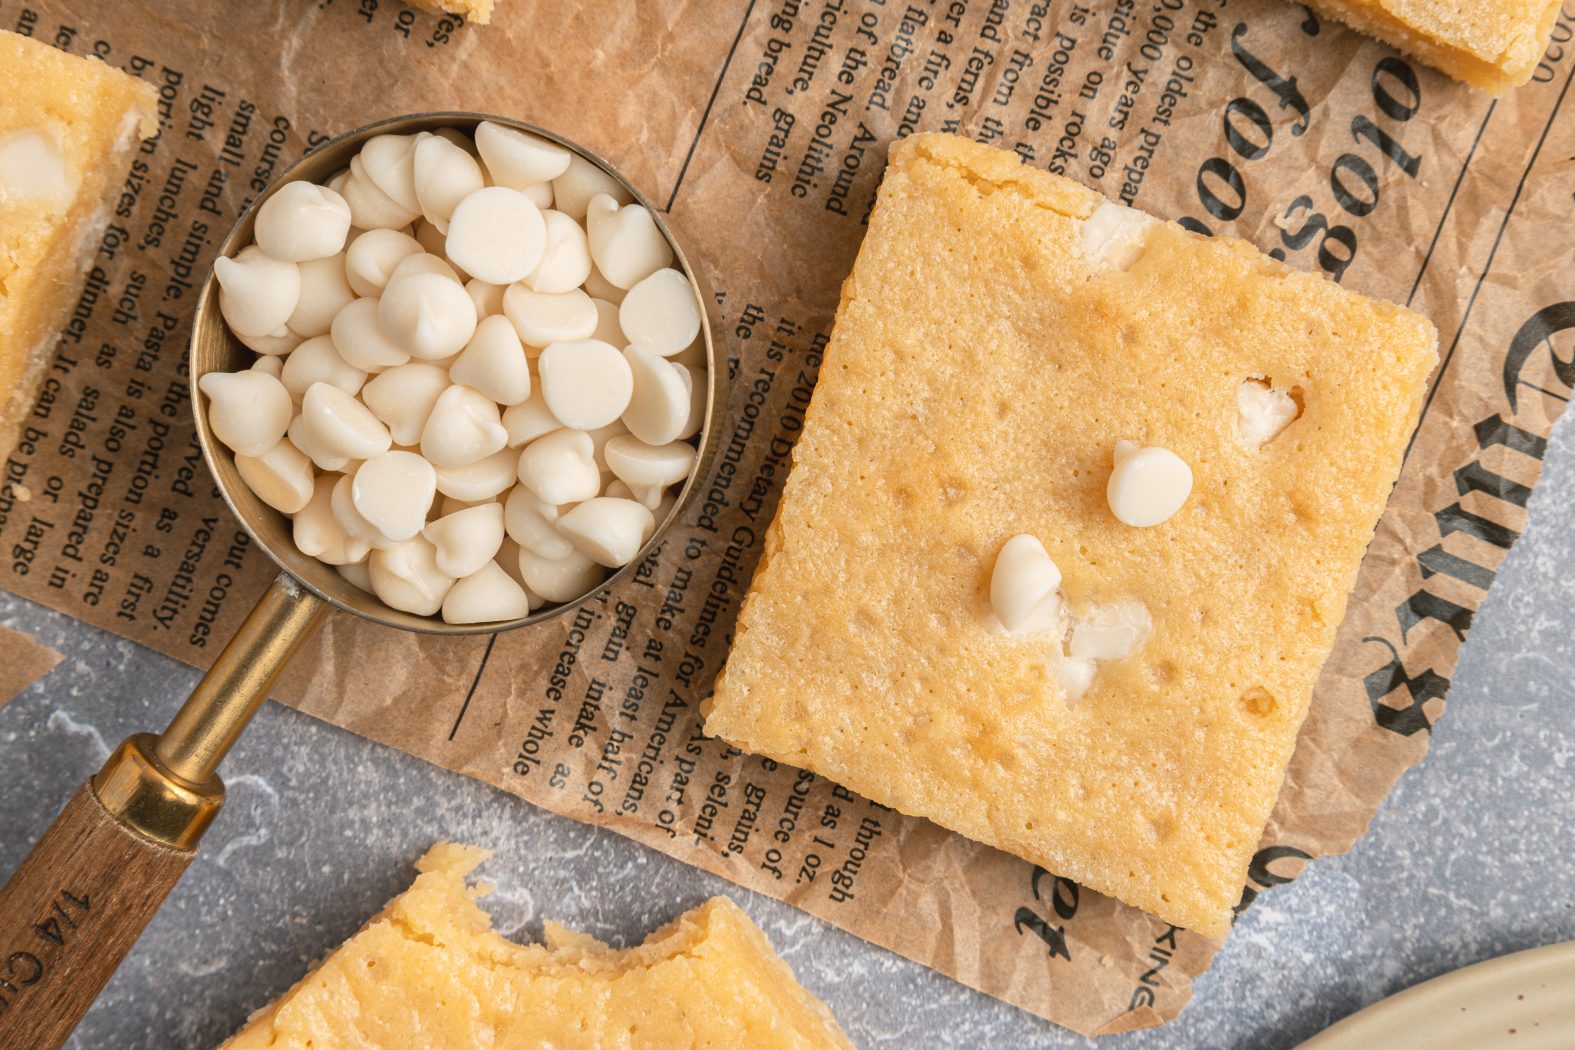
- 8 oz white chocolate chopped
- 3/4 cup butter unsalted
- 1/2 cup sugar granulated
- 1/2 cup light brown sugar packed
- 3 eggs large
- 11/2 tsp vanilla extract
- 1 tsp salt
- 3/4 cup white chocolate chips
Instructions
- Preheat your oven to 350°F. Line a 9×13-inch baking pan with parchment paper, leaving some overhang on the sides to make removing the bars easier later on.
- Place the white chocolate and butter in a heatproof bowl set over a pot of gently simmering water (double boiler method). Stir occasionally until fully melted and smooth.
- Once smooth, remove the bowl from the heat and let the mixture cool for 5-10 minutes.
- Whisk the granulated and brown sugars into the melted chocolate mixture until fully incorporated.
- Add the eggs one at a time, whisking well after each addition. Stir in the vanilla extract.
- Gently fold in the flour and salt, mixing just until no dry streaks remain. Be careful not to overmix. Fold in white chocolate chips.
- Pour the batter into the prepared pan and spread it evenly with a spatula. Optional: spread extra chocolate chips on top.
- Bake for 15-17 minutes, or until the edges are lightly golden and the center is just set. A toothpick inserted in the middle should come out with a few moist crumbs.
- Allow the bars to cool completely in the pan before lifting them out and slicing into squares.


I made these for a party and they were delish!